
By now you’ve probably read through keyword research, on-page and off-page SEO, technical SEO, and a list of common mistakes to avoid. At some point, all of that needs to turn into action, and that’s exactly what a website SEO audit is. It’s the process of actually checking your own site against everything you’ve learned, instead of just knowing it in theory.
This isn’t a one-time task you do and forget. Think of it more like a health checkup, something worth repeating every few months. Here’s exactly how to do a website SEO audit, step by step, using mostly free tools.
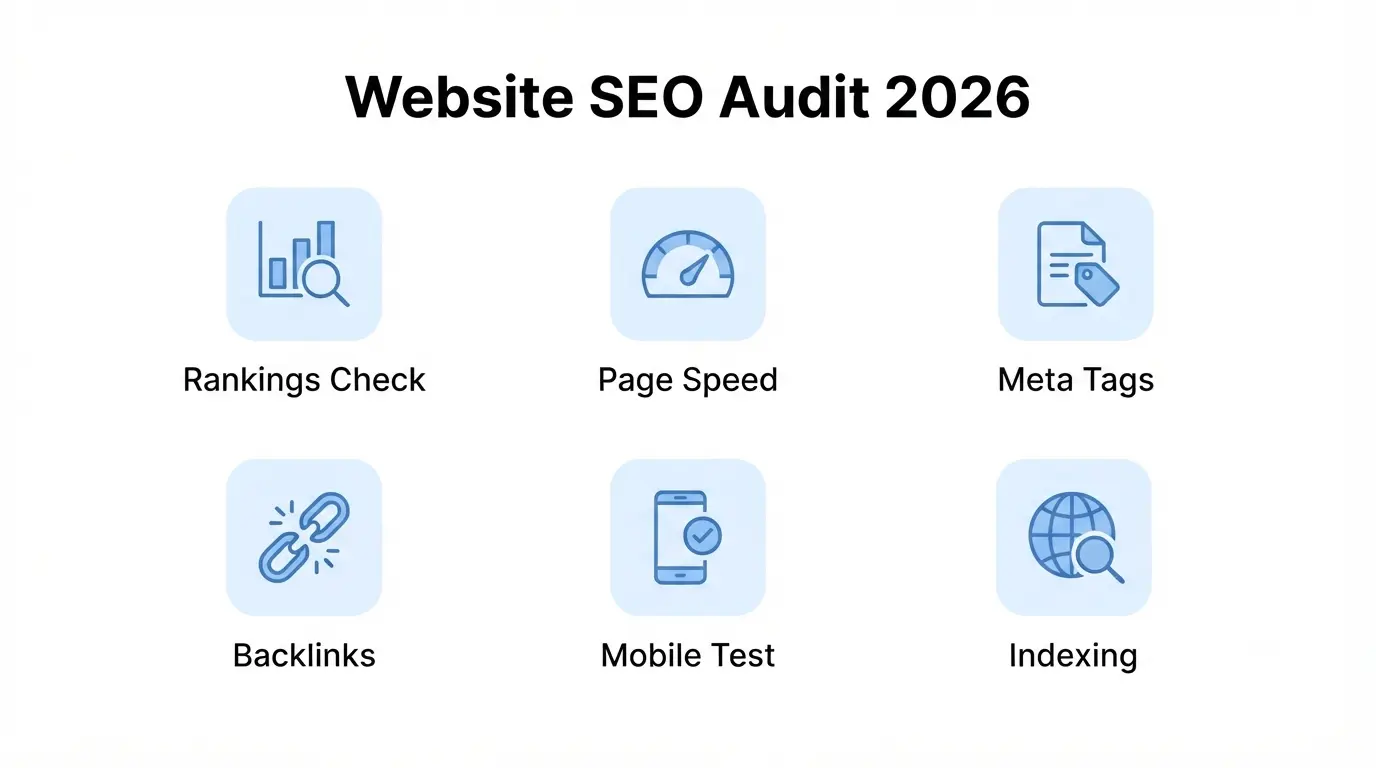
Why Bother With a Website SEO Audit
Rankings rarely drop overnight for no reason; they usually slip slowly because of small issues piling up: a broken link here, a slow-loading page there, content that’s gone stale. A website SEO audit is how you catch these things before they quietly cost you traffic.
It’s also just as useful for finding opportunities as it is for finding problems, old posts that could rank higher with a small update, or pages that are almost ranking but need one more push.
Step 1: Check Your Current Rankings and Traffic
Before changing anything, you need a baseline. Otherwise you won’t actually know if your audit made a difference later on.
What to do: Open Google Search Console and note which pages get the most clicks and impressions, which keywords you’re already ranking for, and any pages with a high impression count but a low click-through rate – those are often quick wins.
Step 2: Run a Technical Health Check
If Google can’t crawl or load your site properly, nothing else in this audit matters much. This is where you catch the behind-the-scenes issues from our technical SEO checklist.
What to do: Run your site through Google PageSpeed Insights, check Search Console for crawl errors or coverage issues, and confirm your XML sitemap is submitted and up to date.
Step 3: Audit Your On-Page Elements
This is where you go page by page, or at least post by post, and check the basics that are easy to overlook once you’ve published dozens of articles.
What to do: Check that every important page has a unique title tag and meta description, confirm each post targets one clear focus keyword, and make sure headings are structured logically rather than randomly. Our on-page vs off-page SEO guidecovers this in more depth.
Step 4: Look for Thin or Outdated Content
Old posts don’t age gracefully on their own. Information goes stale, competitors publish better versions of the same topic, and short posts that once ranked start slipping.
What to do: Identify posts that are short, outdated, or losing rankings, and either expand them with more useful detail or update them with current information. Sometimes a 30-minute refresh brings a post right back.
Step 5: Check Your Internal Linking
As a site grows, internal linking often gets forgotten, new posts go live without linking back to older, relevant ones, and older posts never get updated to link forward either.
What to do: Go through your most important posts and make sure they link to at least a couple of other relevant pages on your site, and check that your best content is being linked to from elsewhere, not just sitting isolated.
Step 6: Review Your Backlink Profile
Off-page signals matter too, and it’s worth knowing what’s actually linking to you, both the good and the potentially harmful.
What to do: Use a free tool to check your current backlinks, look for any suspicious or spammy links pointing to your site, and note which pages are attracting the most natural links so you can build more content like them.
Step 7: Check Mobile Usability
Most of your traffic is probably coming from mobile devices at this point, so this isn’t optional anymore, it’s one of the first things worth checking.
What to do: Open your own site on your phone and actually use it, check that text is readable without zooming, buttons are easy to tap, and nothing overlaps or breaks on a smaller screen.
Step 8: Confirm Everything Is Indexed Properly
It’s surprisingly common for important pages to accidentally get blocked from indexing, especially after a site redesign or plugin update.
What to do: Search “site:yourdomain.com” on Google to see what’s actually indexed, and check Search Console for any pages marked as excluded that shouldn’t be.
Website SEO Audit Checklist
- Review current rankings and traffic in Search Console
- Check page speed and fix major technical errors
- Confirm every page has a unique title tag and meta description
- Update or expand thin, outdated posts
- Add internal links to and from your most important content
- Review your backlink profile for spammy links
- Test your site on an actual mobile device
- Confirm important pages are properly indexed
Also read: Technical SEO Checklist for 2026
Also read: Common SEO Mistakes to Avoid in 2026
The Bottom Line
A website SEO audit doesn’t need to happen all in one sitting, and it definitely doesn’t need to be perfect the first time. Work through it step by step, fix what you find, and revisit it every few months rather than treating it as a one-off task.
Most sites have at least a handful of quick wins hiding in plain sight: a missing meta description here, a broken internal link there. You won’t know until you actually look.
Don’t have time to run this yourself? AmanTPoint can run a full SEO audit on your site and hand you a clear, prioritised list of what to fix first.


