Creation of Standard Invoices
This involves the following steps:
• Entering basic invoice information
• Distributing the invoice amounts to required account codes.
Entering basic invoice information Navigation: Oracle Payables–>Invoices–>Entry –> Invoices
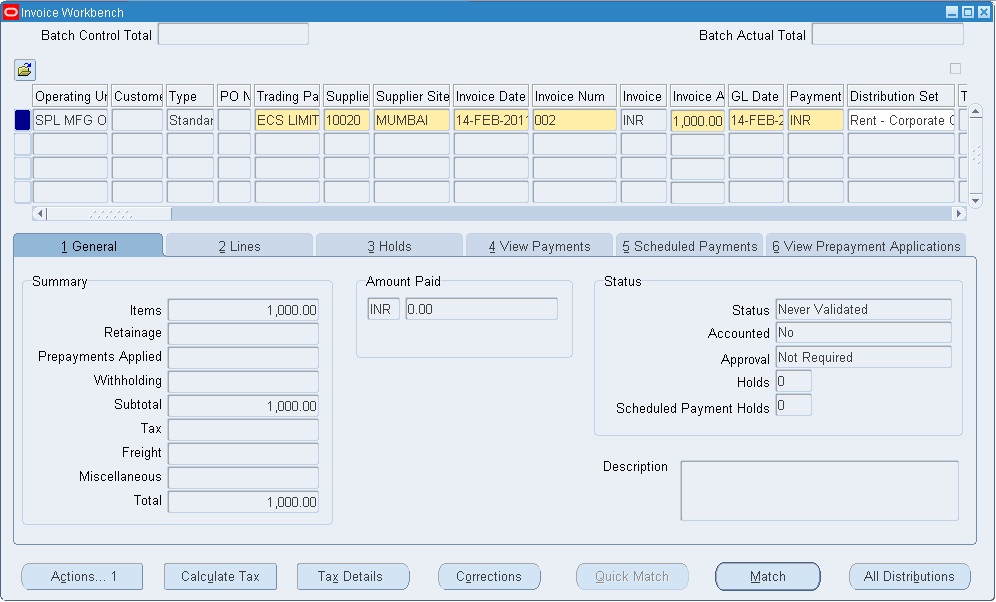
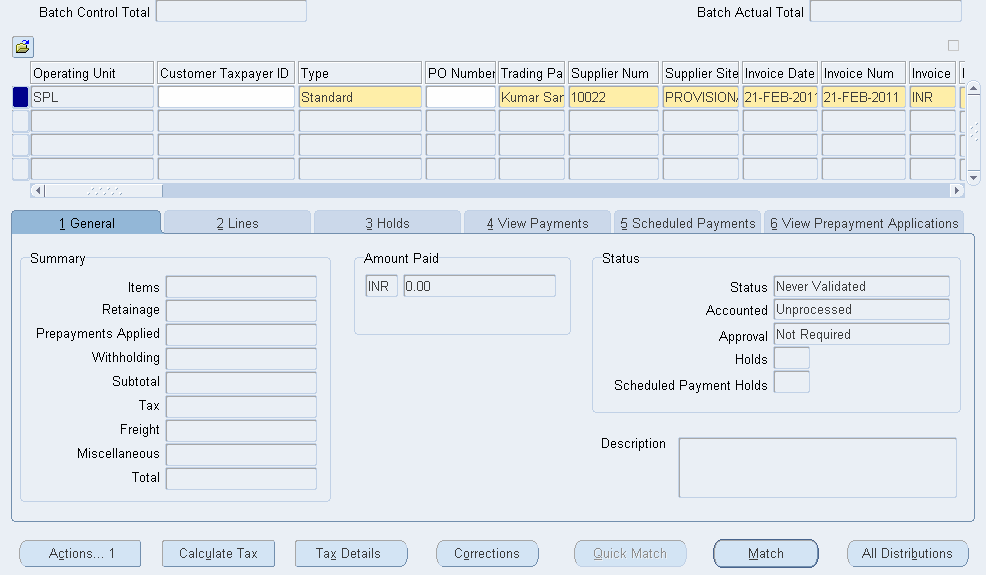
1. In the Invoices window choose Standard as the invoice Type.
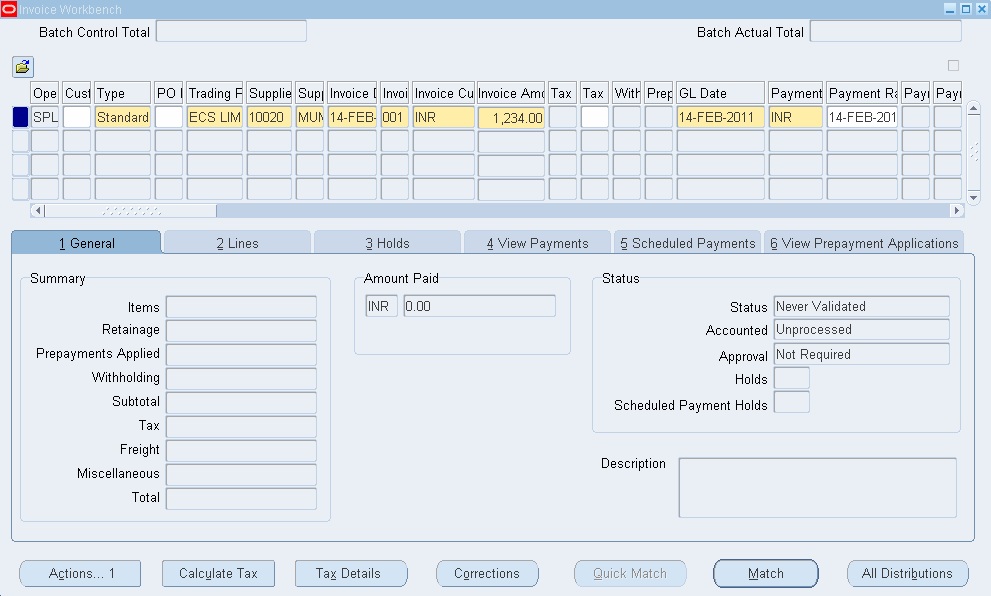
2. Supplier and Supplier Number: Select the Supplier or Supplier Number.
3. Supplier Site: Select the Supplier Site to which you will send payment of the invoice.
Payables will print the address for this site on the payment.
4. Invoice Date: Enter the Invoice Date as per the Supplier Invoice
5. Invoice Number: Enter the Invoice Number as per the invoice sent by the supplier. Payables will not allow us to enter duplicate invoice numbers for the same supplier.
Note: We recommend you follow the invoice numbering convention that minimizes the risk of separate entries of the same invoice under different invoice numbers. For example, if you consistently enter alphanumeric invoice numbers in the upper case you would enter an invoice number only as ‘ABC123’, and not also as ‘abc123’.
6. Invoice Amount: Enter the full Invoice Amount including tax. (For PO receipt matched invoices we can enter this amount after the matching process is completed.)
7. Currency: Enter invoice currency. The invoice currency assigned to the supplier defaults. Change the currency if the invoice you are entering is in a different currency.
8. GL Date: The system date defaults as the GL date. Enter the date on which you want to account and post this invoice in GL. If the invoice is pertaining to a previous period and the current period is not open, the GL date field will be blank and the current date does not default. We have to manually enter or select the date. It allows you to enter in future date when the accounting period is in future status. The number of periods that can be maintained in future period status is 1 as per set of books.
9. Payment Currency: The payment currency defaults based on the Invoice currency you enter.
10. Terms Date: The terms date defaults as the Invoice date based on the terms date basis set for the supplier site.
11. Payment Method: The payment method defaults as Check from the supplier site. Change it if the payment is to be released by Wire (TT) or Bills payables if payment terms are LC/PDC
12. Terms: The Payment terms default from the supplier site. You can override if it is different for this invoice. The payment schedule for the invoice is calculated based on the terms assigned for the invoice.
13. Description: Enter the Description of your invoice. This will appear on your payment document and may appear in your general ledger.
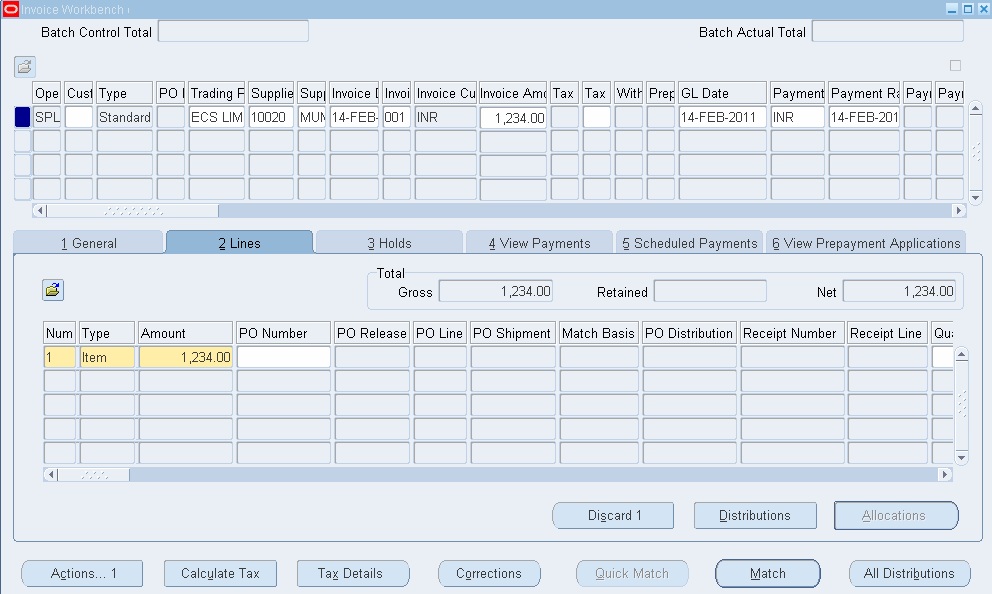
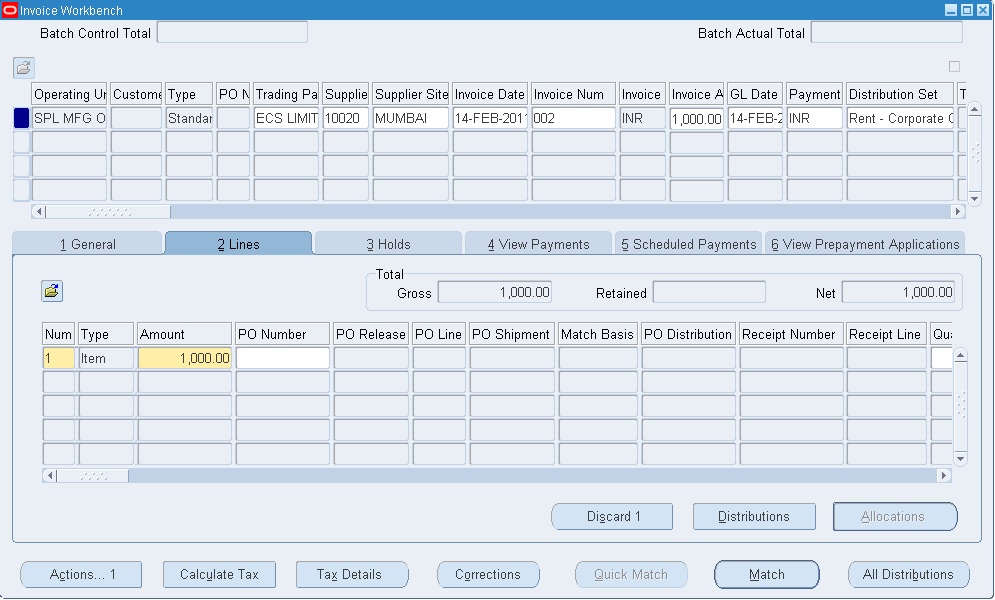
14. Amount: In the lines tab page, enter an amount for the distribution line
15. We can enter distributions automatically by entering a Distribution Set, or choosing the
Distributions button and enter the distributions manually.
Entering Invoice Distributions
The distributions you enter for an invoice allocate the total invoice amount to various expense or asset accounts. For example, you can distribute expenses from one office supply invoice to expense accounts for several cost centers. Payable uses distributions to create accounting entries for invoices.
You can enter distributions in the following 4 ways:
1. Manual Entry
2. Distribution sets
3. Matching invoice with PO/WO
4. Matching Invoice with PO Receipt
Entering Invoice Distributions Manually
1. Choose the Distributions button in the lines tab page to navigate to the Distributions window.
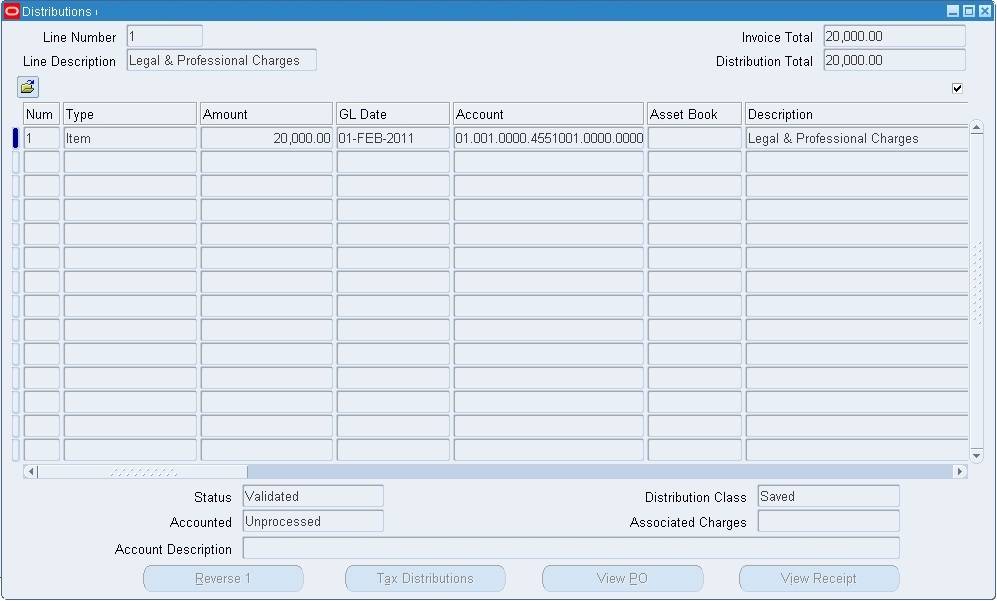
2. Type: Choose a distribution Type. Choose Item for goods or services you ordered (other types available for selection are Freight, Tax, and Miscellaneous). Tax type will be used by the application to generate tax lines when tax codes of the base application (not related to India localization taxes) are used and applied. For India localization taxes, the application uses
‘Miscellaneous’ type. Freight type is used for creating freight lines.
3. Amount: Enter the distribution Amount
4. GL Date: The distribution GL Date defaults from the invoice GL Date you entered. You can override the default and change the distribution GL Date to any date in an open or future period. Payable uses the GL Date as the accounting date for the distribution.
5. Account: Enter the GL account for the distribution. You can use shorthand aliases if you have defined one in GL.
6. Enter any additional distributions in the same manner.
7. If the sum of the distributions does not equal the Invoice Total, Payables will put the invoice on Distribution Variance hold during invoice Approval. We have to correct the total in the Invoice header/distribution lines and re-submit invoice validation to release the hold
8. Save your work.
Entering Invoice with Distribution Set
1. Enter the invoice with all required details in the invoice header
2. Before you choose to enter lines and distributions select ‘distribution set’ in the Invoice header and save the record
3. When you choose distributions from the lines tab page, the distribution lines as in the distribution set are created.
4. If you apply the ‘skeleton’ type of distribution set, the lines are created with ‘0’ amounts. You can update actual amounts against each line/account. If you apply the ‘full’ type of distribution set, the amounts default based on the percentage you specified in the distribution set.
Cash With Drawls for Imprest
In order to enter a payment in Oracle Payables, we need to create an Invoice, without Invoice system won’t allow entering payment.
For all cash withdrawals/ Imprest, we need to book an Invoice by debiting with the Cash Imprest account and making payment.
For example, we can illustrate the case of an Employee withdrawing an amount for Banur Imprest Purpose. Accounting entry will be done as below.
For Invoice Entry
Cash Imprest A/c Debit
Employee Liability A/C Credit
For Payment Entry
Employee Liability A/c Debit
Bank / Cash (Current Account) A/C Credit
Enter the Employee Name in the Trading Partner Column and select all the required information like employee site, Invoice Date, Invoice Number, Invoice Amount (Withdrawing Amount), Payment method, Terms Date, etc.
Click on Lines and enter the Line Amount.
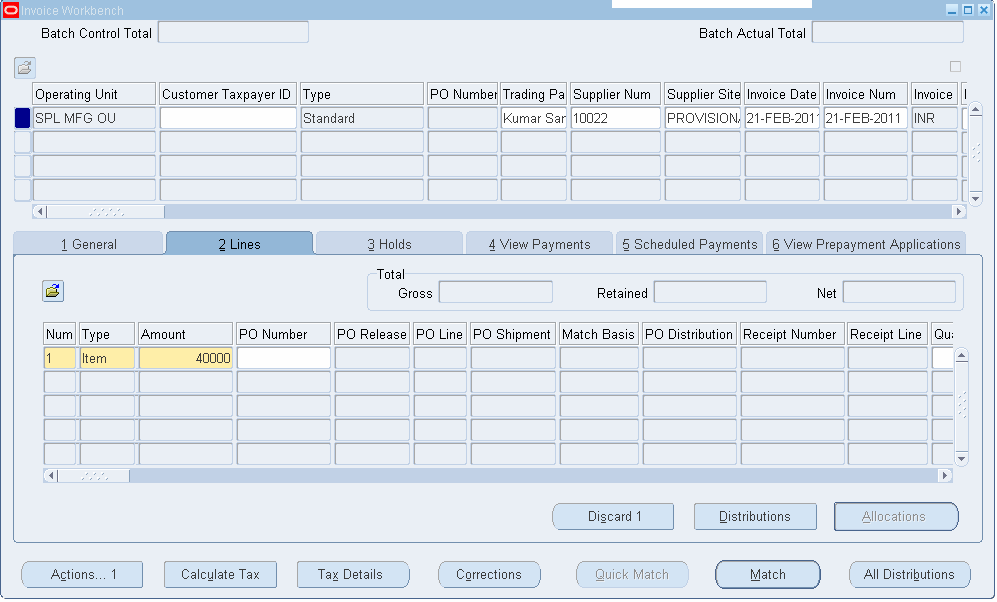
Click on Distributions and enter the Code combination with the location Banur Cash Imprest Account.
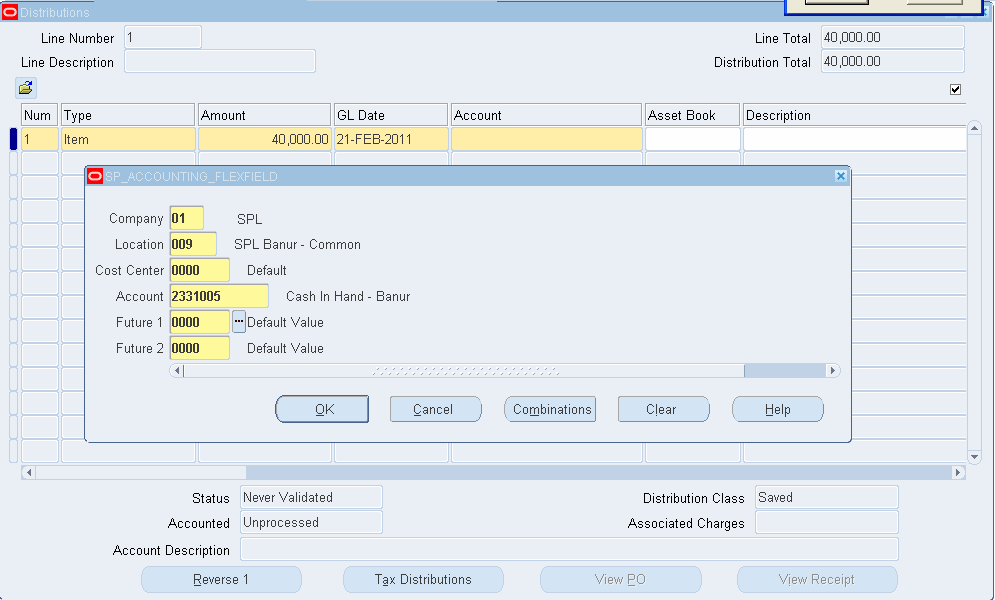
Click on OK. Save the Information, Close the Distribution.

Validate and Account the Invoice through Actions Buttons.
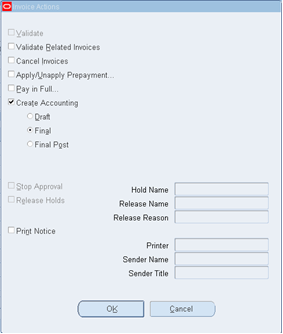
Once the Invoice validates and Accounted Make Payment for this Invoice.
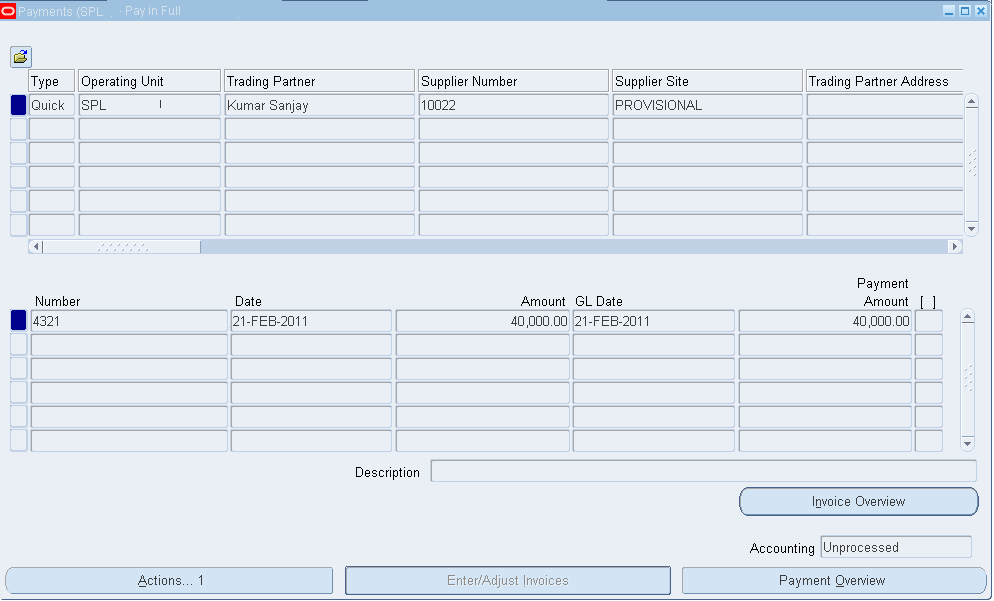
Go to Actions Button and Click on Pay in full.
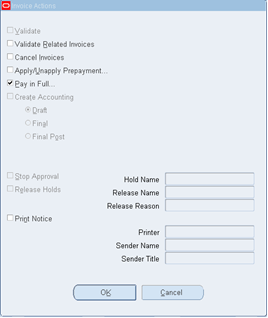
Click on OK System will automatically fall into the Payment Window.
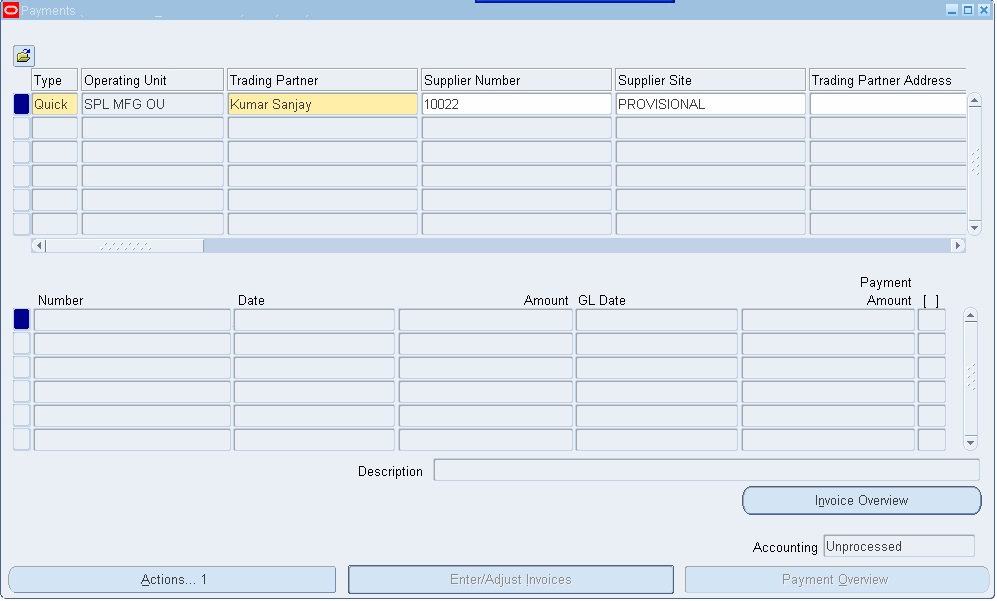
Select the Bank from which bank we are withdrawing the amount for Imprest. And save the information.

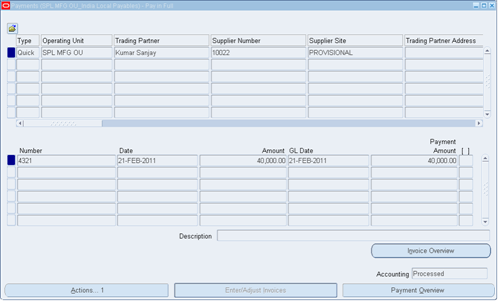
Save the Information and Account the Payment through Actions Button.

Click on OK to Account Payment.
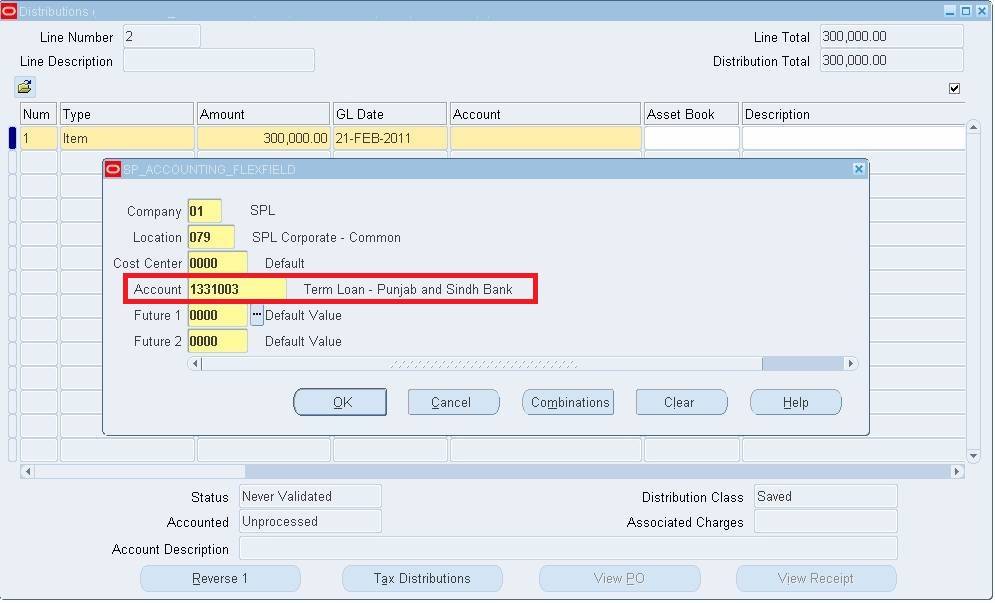
Loan Payments
For Loan Payments Also enter an Invoice in Payables by debiting the Loan GL Account.
The process of Invoice entry and making the payment is the same, but at the invoice distribution level, we need to select the respective Loan GL Account.
Select the Bank as a supplier, because we are paying to Bank. Enter the Loan Amount in the header and at line level.
Enter the Invoice Line distributions, and save the Information. Validate and Account for the Invoice. Make payment for the invoice from the invoice window through the actions button. Account the Payment.
Invoice Accounting entry
Loan Account (Liability) A/c Debit
Bank Liability A/c Credit
Payment Entry
Bank Liability A/c Debit
Cash/Bank A/c Credit